We tried astria.ai - easiest way (for now) to train AI with your photos
Disclaimer: This is not a sponsored post, and I’m not associated with astria.ai. I just decided to try it and documented how I did it. I hope you can follow and find this helpful.
Spoiler: this is insanely easy; upload photos, wait, and get cool results! $20 is a bit expensive, but I feel it’s worth it given how much fun I had and that I can download the trained model. I’ll post about cheaper/free options later on.
About FollowFox
followfox.ai is an AI exploratory initiative of the boutique marketing agency FollowFox.org.
Until AI takes over, FollowFox.org offers a full range of marketing services at boutique quality by top talent in the region. Support us by:
Visiting our website link
Liking our LinkedIn page link
Checking our sortlist profile link
or by subscribing to this blog
Overview
I was blown a few days ago when I saw this video from Corridor Crew and what they could do with AI (link).
So I decided to figure out how to do it myself. Corridor Crew used a new method called DreamBooth (see whitepaper) to fine-tune image-generating AI models. And there are quite a few ways to do this, but most of them require at least some technical knowledge or effort. So the easiest way is to let someone else do it for you. Astria.ai is one of them, so I decided to try it, and the results didn’t disappoint.
Prep Steps
1 - Learning about astria, registration, buying credits
I go to https://www.astria.ai/ and use the google sign-up/in method.
(can be skipped) I watch their how-to video (1 min link)
(can be skipped) I read their how-to page https://www.astria.ai/tips.
Fine-tuning credits seem to cost USD 20 or 29 SGD, and I’m buying it using Google pay.
2 - Preparing photos
Since they have no detailed requirements on resolution, etc. - I’m keeping it simple:
I go through my iPhone pics and select 20 pictures based on criteria from section 1 (3 photos of full body or entire object + 5 medium shot photos from the chest up + 10 close-ups.)
I upload photos from my phone to google drive and then download them to my PC
I see that some pics are in HEIC format because of iPhone, so I found this online converter tool, converted photos, and replaced the HEIC ones with these in my PC folder https://www.iloveimg.com/convert-to-jpg.
Photos I ended up with:
3 - Upload and finetuning
The title doesn’t matter, so I’m using “ipdmtest”.
I’m using “person” for the class name, as recommended.
I uploaded all 20 photos.
I’m ignoring advanced options as recommended since I have no idea what that is.
I pressed go and now waiting to see what happens.
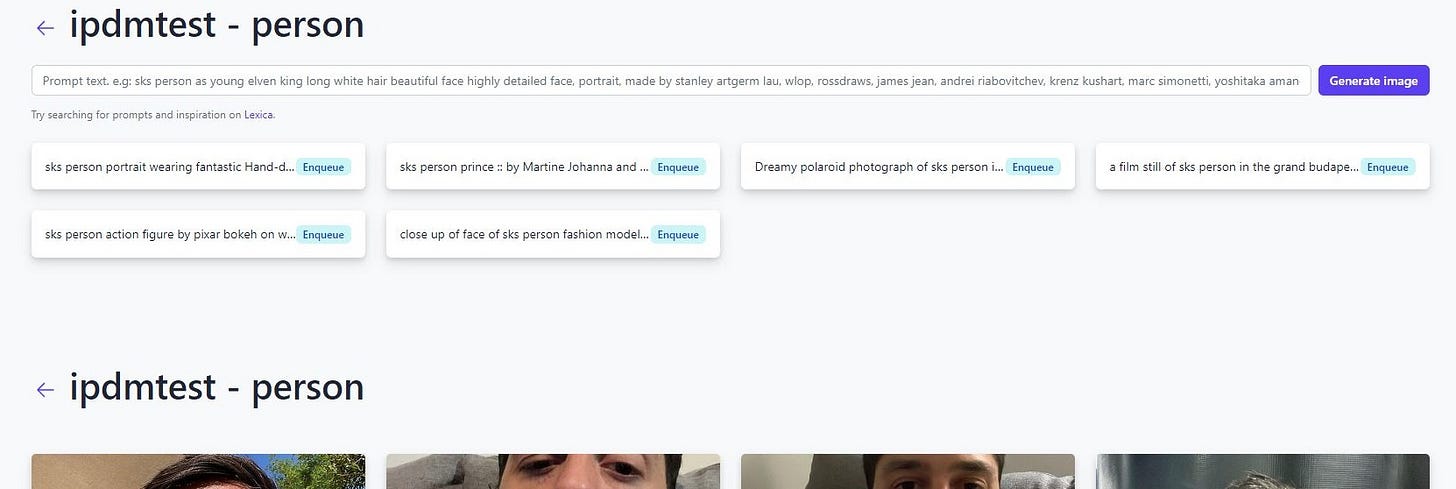
I ended up on this page, but nothing happens when I try to generate, I have to wait 90 minutes. It’s 6:04 pm now.
Results
Results with astria.ai’s online tool
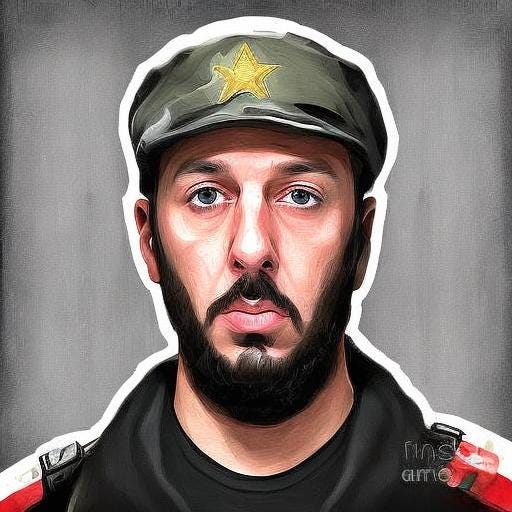
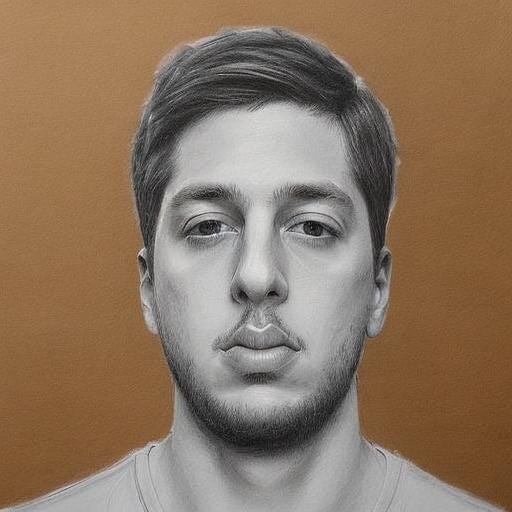
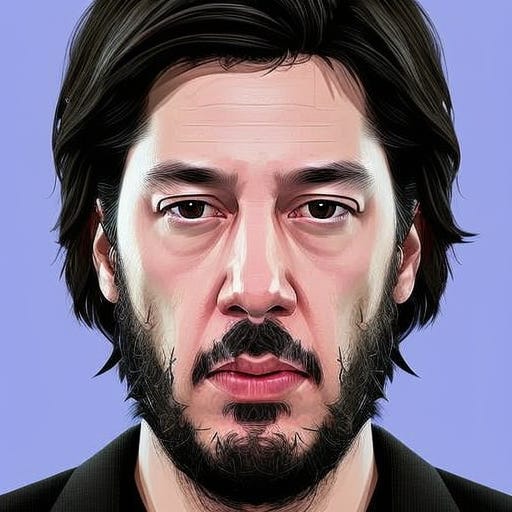
I was back in three hours, training was done, and a few images were already generated. They look promising, but I decided to try my promts. The results didn’t disappoint! (note: there are some not-so-impressive ones, but I can for sure select cool ones):
Prompt: A digital painting of sks person, Captain Price from Call of Duty
prompt: A digital painting of sks person, Big Boss from Metal Gear Solid, Yoji Shinkawa Text: A digital painting of sks person, Big Boss from Metal Gear Solid, Yoji Shinkawa
Prompt: sks person, pencil sketch of a teenage boy with short side part light hair smiling trending on artstation
Prompt: Portrait of a sks person by Greg Rutkowski, he is about 20 years old, norwegian, short blond hair, young, manly, attractive, strong, older brother vibes, he is wearing futuristic military fatigues, highly detailed portrait, scifi, digital painting, artstation, concept art, smooth, sharp foccus ilustration, Artstation HQ
highly detailed portrait of sks person as keanu reeves in gta v, stephen bliss, unreal engine, fantasy art by greg rutkowski, loish, rhads, ferdinand knab, makoto shinkai and lois van baarle, artgerm, pixar, ilya kuvshinov, rossdraws, tom bagshaw, global illumination, radiant light, detailed and intricate environment
Results with WebUI downloaded model
astria.ai allows downloading the trained model, and users can run and use it however they want. How I did it:
I downloaded the ckpt file
(optional) Check how I installed webui in my post here link
I placed it in “\stable-diffusion-webui\models” folder
astia.ai says, “you will need to run with --disable-safe-unpickle” and I’m not sure how to do that. So I created a shortcat of my “webui.bat” by right-clicking it and pressing create a shortcut.
Then I right-clicked the created shortcut, selected properties, and in target, added the “ --disable-safe-unpickle” line.
Then started the webui using the new shortcut, and it all worked, as usual; I selected the webui as my new model and used prompts as usual.
Results of prompt: highly detailed portrait of sks person as keanu reeves in gta v, stephen bliss, unreal engine, fantasy art by greg rutkowski, loish, rhads, ferdinand knab, makoto shinkai and lois van baarle, artgerm, pixar, ilya kuvshinov, rossdraws, tom bagshaw, global illumination, radiant light, detailed and intricate environment Steps: 50, Sampler: Euler a, CFG scale: 7, Seed: 4243591472, Size: 512x512, Model hash: 9af02fb6


